Kalibrieren heißt sicherzustellen, dass die Aufwandmenge auf dem Etikett des Pflanzenschutzmittels auch tatsächlich auf dem Feld ankommt. Laufen beide auseinander, verlieren Sie in beide Richtungen Geld: Überdosierung verschwendet Mittel und erhöht das Risiko von Kulturschäden; Unterdosierung macht die Behandlung wirkungslos und schickt Sie erneut auf dasselbe Feld — Kraftstoff, Zeit und ein zweiter Tank Pflanzenschutzmittel.
Die gute Nachricht: Kalibrieren ist nicht kompliziert. Sie brauchen einen Messbecher, eine Stoppuhr und 20 Minuten. Hier sind die 7 Schritte, vereinfacht für die Praxis auf dem Feld.
Wann sollten Sie kalibrieren?
- Zu Beginn jeder Saison, vor der ersten Anwendung
- Immer wenn der Düsensatz gewechselt wird oder einzelne Düsen ersetzt werden
- Beim Wechsel der Anwendungsart (z. B. von Herbizid zu Fungizid, von geringer zu hoher Wassermenge)
- Wenn der Tank deutlich früher oder später leer ist, als die Rechnung sagt — dann verlangt das System nach einer Kalibrierung
Schritt 1 — Mit einem sauberen System beginnen
Ein verschmutztes System zu kalibrieren heißt, eine falsche Messung zu verfeinern. Reinigen Sie den Saugfilter, die Leitungsfilter und die Düsenfilter, in dieser Reihenfolge; füllen Sie den Tank mit sauberem Wasser. Schon ein einziger verstopfter Düsenfilter senkt den Ausstoß dieser Düse und verfälscht den ganzen Test.
Schritt 2 — Ihre echte Geschwindigkeit messen
Traktortachos lügen — Reifenverschleiß und Schlupf sorgen dafür — und Ihre Aufwandmenge wandert mit dem Fehler mit. Wählen Sie den Gang und die Drehzahl, mit denen Sie tatsächlich spritzen, und messen Sie dann die echte Fahrgeschwindigkeit. Ihr Handy genügt: Unser GPS-Tacho zeigt die echte Geschwindigkeit und überträgt das Ergebnis direkt in die Düsenberechnung.
Schritt 3 — Die Sollmenge in eine Zahl übersetzen
Der erforderliche Durchfluss pro Düse ergibt sich aus einer einfachen Formel:
Düsendurchfluss (l/min) = Aufwandmenge (l/ha) × Geschwindigkeit (km/h) × Düsenabstand (m) ÷ 600
Beispiel: 200 l/ha Sollmenge bei 8 km/h und 50 cm Düsenabstand → 200 × 8 × 0,5 ÷ 600 = 1,33 l/min. So viel sollte jede Düse pro Minute ausbringen.
Wenn Sie sich das Rechnen sparen möchten, erledigt der Düsenauswahl-Rechner dieselbe Rechnung und empfiehlt anschließend die passende Düse und den Druck nach ISO-Farbcode.
Schritt 4 — Druck einstellen, Düse prüfen
Zu einem Solldurchfluss führen zwei Wege: die richtige Düse oder erzwungener Druck. Der erste ist der richtige. Wer den Durchfluss über einen hochgedrehten Druck erzwingt, verkleinert die Tropfen und erhöht die Abdrift; Pflanzenschutzmittel auf der Parzelle des Nachbarn ist Verlust und Haftungsrisiko zugleich. Vergleichen Sie den ISO-Farbcode Ihrer Düse mit dem Solldurchfluss — passen sie nicht zusammen, wechseln Sie die Düse, nicht den Druck.
Schritt 5 — Das Auslitern
Das ist das Herzstück der Kalibrierung, und keine Elektronik ersetzt es:
- Betreiben Sie das System mit dem echten Arbeitsdruck
- Halten Sie einen Messbecher genau 1 Minute unter eine Düse
- Vergleichen Sie die aufgefangenen Liter mit dem Sollwert aus Schritt 3
Bleiben Sie nicht bei einer Düse; prüfen Sie mindestens 3-5 Düsen links, in der Mitte und rechts am Gestänge. Weicht eine einzelne Düse ab, ist meist ihr Filter oder die Düse selbst schuld; weichen alle gemeinsam ab, prüfen Sie Druck, Durchflussmesser oder Geschwindigkeitssignal. Mehr als ±5% Abweichung vom Sollwert bedeutet: nachstellen.
Schritt 6 — Verschleiß erkennen: die 10%-Regel
Düsen verschleißen unbemerkt: Die Bohrung wird größer, der Durchfluss steigt, das Spritzbild bricht zusammen — und Sie überdosieren auf jedem Hektar, ohne es zu merken. Die einfache Prüfung: Testen Sie eine neue Düse desselben Typs beim selben Druck. Liefert eine gebrauchte Düse mehr als 10% mehr als die neue, ist es Zeit, den Satz zu ersetzen. Ein Düsensatz ist das günstigste Teil an einer Maschine, die einen Tank voller Pflanzenschutzmittel trägt.
Schritt 7 — Dokumentieren und wiederholen
Notieren Sie Datum, Düsentyp, Druck, gemessene Geschwindigkeit und das Ergebnis des Ausliterns. Bei der nächsten Kalibrierung haben Sie einen Vergleichswert und sehen, wie schnell sich Abweichungen aufbauen. Schon ein 5-minütiger Stichtest an einer einzelnen Düse mitten in der Saison deckt Überraschungen früh auf.
Von der Kalibrierung einmal am Tag zur laufenden Kontrolle
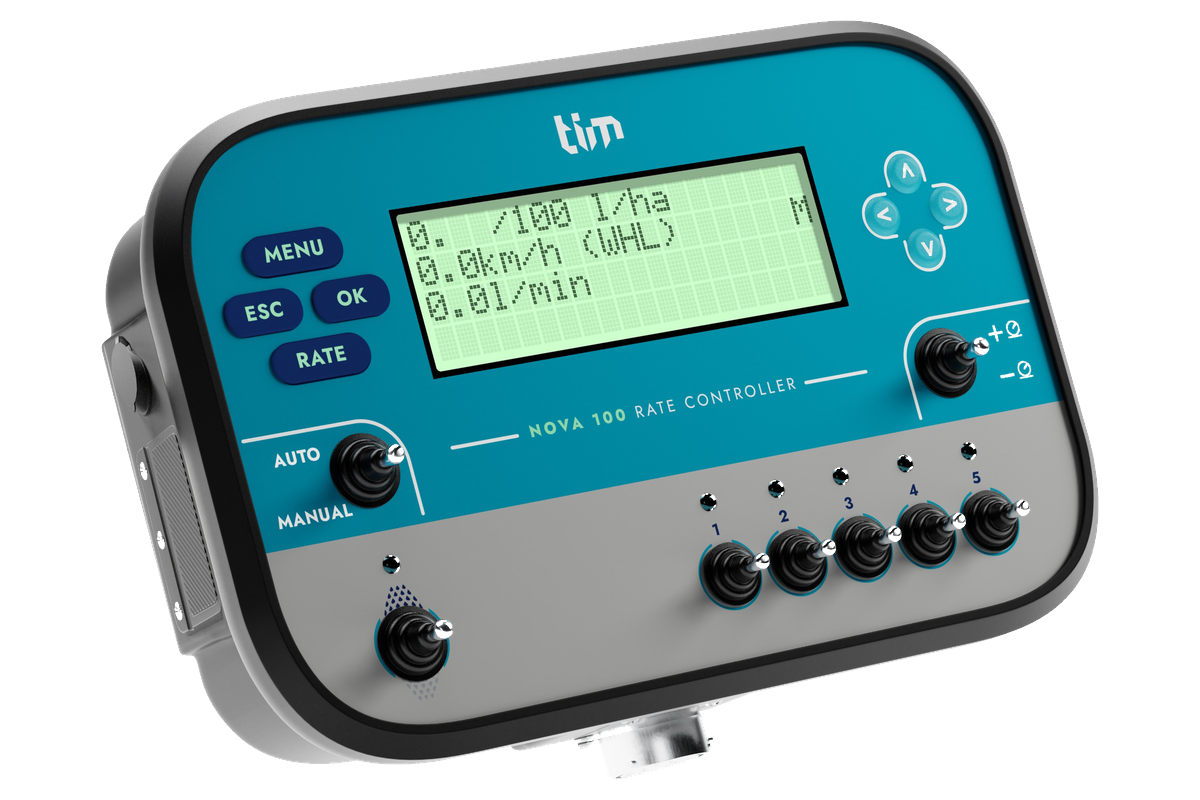
Die manuelle Kalibrierung ist eine Momentaufnahme: richtig an diesem Tag, bei dieser Geschwindigkeit, bei diesem Druck. Auf dem Feld ändert sich die Geschwindigkeit — und bei einem herkömmlichen System wandert die Aufwandmenge mit. Die automatische Dosierregelung schließt genau diese Lücke: Ein Dosierregler (oft Spritzcomputer genannt) wie der Nova 100 misst den Durchfluss fortlaufend, stellt das Ventil bei Geschwindigkeitsänderungen nach und hält die Liter pro Hektar konstant. Er lässt sich an Ihrer vorhandenen Spritze nachrüsten; das Auslitern bleibt Ihre Kontrolle zum Saisonstart, aber das tägliche Einhalten der Aufwandmenge übernimmt das Gerät.
Häufig gestellte Fragen
Bei welchem Druck sollte ich auslitern?
Immer bei dem echten Arbeitsdruck, mit dem Sie spritzen. Ein Test bei niedrigem Druck sagt nichts über die Realität bei hohem Druck aus.
Muss ich jede einzelne Düse prüfen?
Für Routinekontrollen genügen 3-5 Düsen aus verschiedenen Gestängeabschnitten. Finden Sie eine abweichende Düse, weiten Sie die Prüfung um sie herum aus.
Der Tank ist trotzdem zu früh leer, und meine Kalibrierung scheint zu stimmen — warum?
Überlappung, Leckagen oder ein fehlerhaftes Geschwindigkeitssignal sind die üblichen Verdächtigen. Der Nova-Support-Assistent führt Sie Schritt für Schritt durch die Ausschlussprüfung.
Statt von Hand zu rechnen, nutzen Sie die Werkzeuge Düsenauswahl und GPS-Tacho direkt auf dem Feld, auf Ihrem Handy — kostenlos, ohne Registrierung.